Generate your Illusions using IllusionDiffusion AI
Illusion Diffusion AI is a technology that uses artificial intelligence algorithms to transform ordinary images into real and visually captivating artworks.
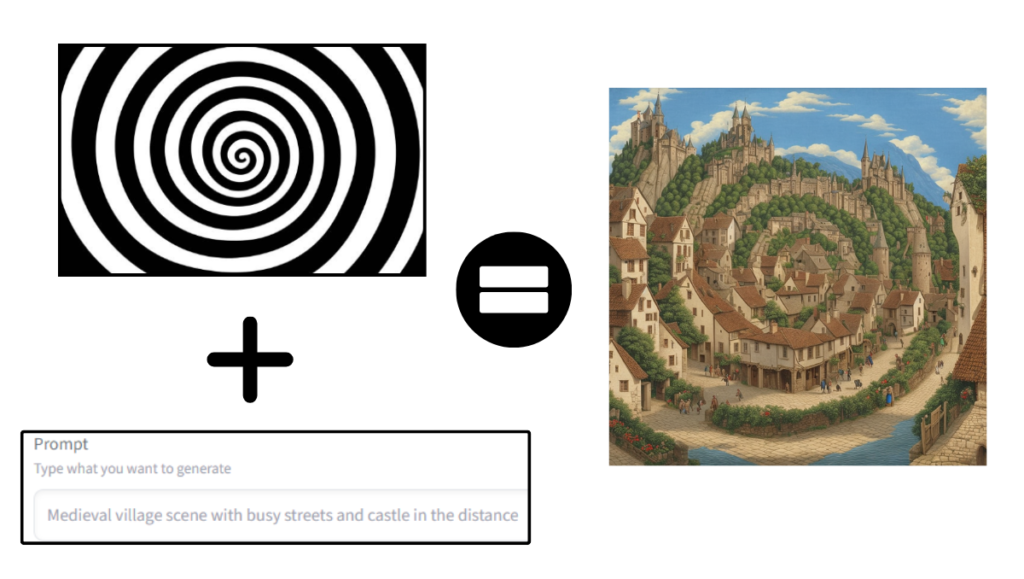
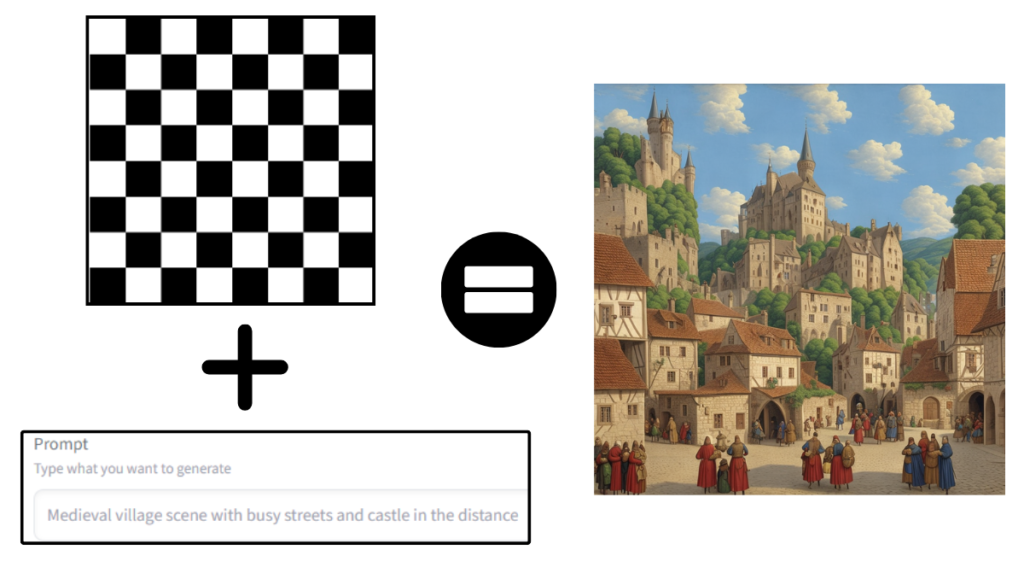
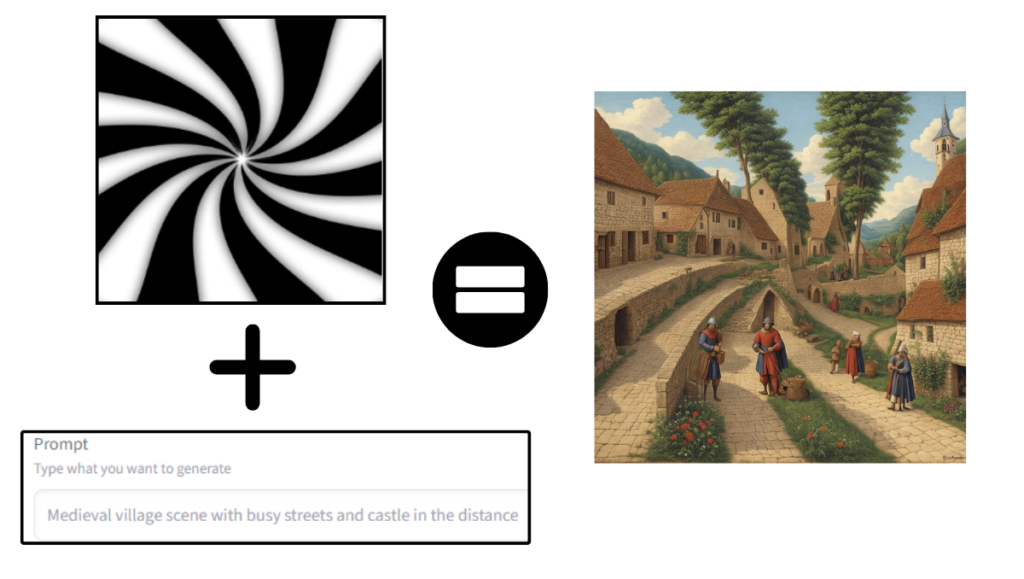
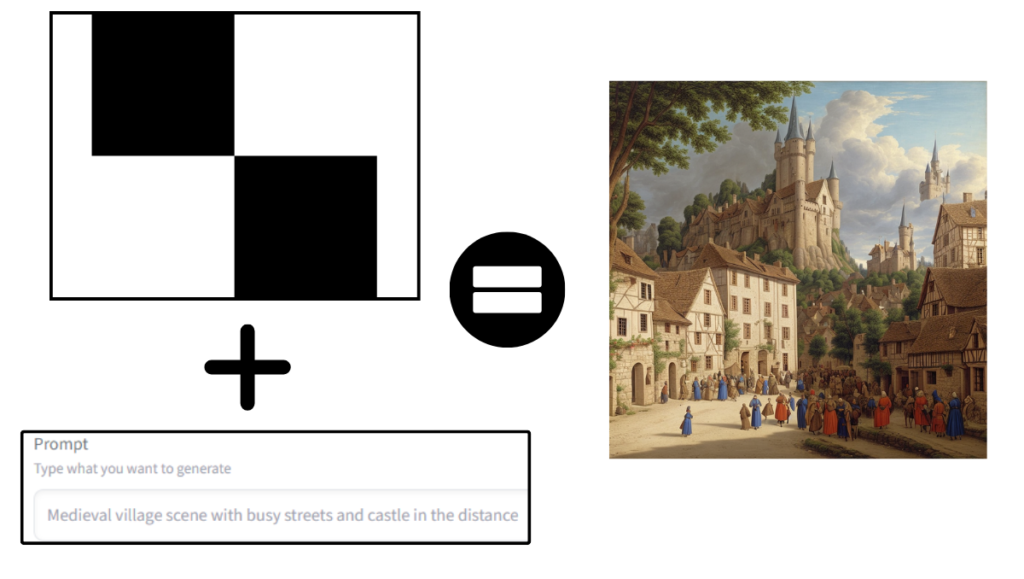
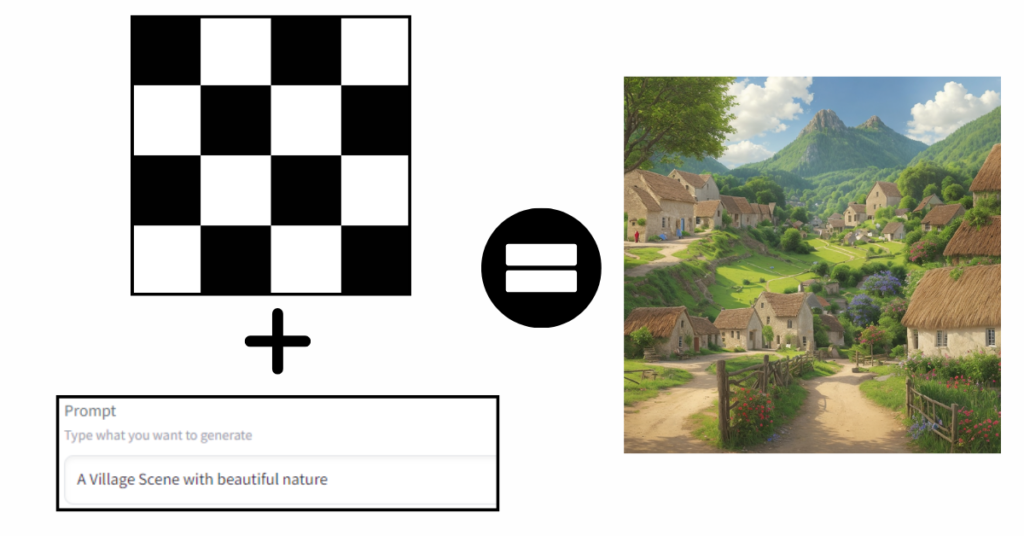
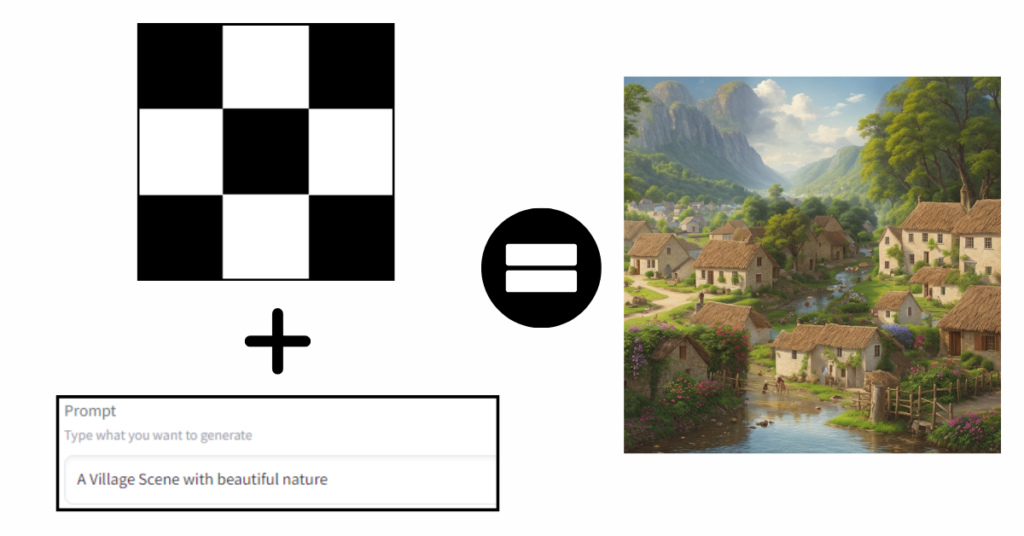
Illusion Diffusion AI HQ Overview:
| AI Tool | Illusion Diffusion AI |
|---|---|
| Purpose | illusion image conversion |
| Accessibility | Online at Hugging Face |
| User-Friendly | Suitable for all skill levels |
| Customization | Fine-tune Images |
| Use Cases | Ads, social media, promotions |
| Cost | Free |
What is Illusion Diffusion AI?
Illusion Diffusion AI is an AI model released on Hugging Face that allows you to convert ordinary images and text into captivating optical illusions and creative visual effects. By adjusting parameters like “illusion strength” and providing prompts, you can use the power of AI to generate unique content.
This innovative AI tool has gained popularity for its ability to produce stunning illusion images and text transformations, and creative content generation.
Illusion Diffusion AI Features
Optical Illusions: Transform ordinary images into mesmerizing optical illusions using AI algorithms.
Text Transformations: Generate creative and imaginative text by providing prompts to the AI model.
Illusion Strength: Adjust the intensity of the illusion or transformation applied to your content with a simple parameter.
Advanced Options: Fine-tune the AI’s behavior with settings like guidance scale, control parameters, upscaling strength, and seed values.
Free Access: Access Illusion Diffusion models through cloud services at no cost, making it accessible to a wide range of users.
Illusion Diffusion AI Image Generator
You can produce stunning illusion images text transformations, and creative content generation.
IllusionDiffusion AI Review
Summary
You can now create illusion images from text for free without the hassle of using an Illusion Diffusion model.
Pros and Cons:
- Easy to Use
- Hugging Face Community
- Free
- No Limit
- Realistic 3D images
- Learning curve
- Long queue
In this guide, we’ll show you how to create Free AI illusion images effortlessly using the Hugging Face API. But hold on, we have a faster alternative to tackle the long queue times.
Let’s dive into the process.
How to use Illusion Diffusion for free?
Step 1: Accessing Hugging Face
- Open your web browser and navigate to your search bar.
- Type in “Hugging Face” and hit Enter.
- Click on the first link that appears in the search results.

Step 2: Exploring the Hugging Face Space
Hugging Face is a cloud service where individuals upload their AI projects, and you can access these models for free. We’ll be using their “Space” feature for illusion image generation.
- Once on the Hugging Face website, navigate to the “Space” section.
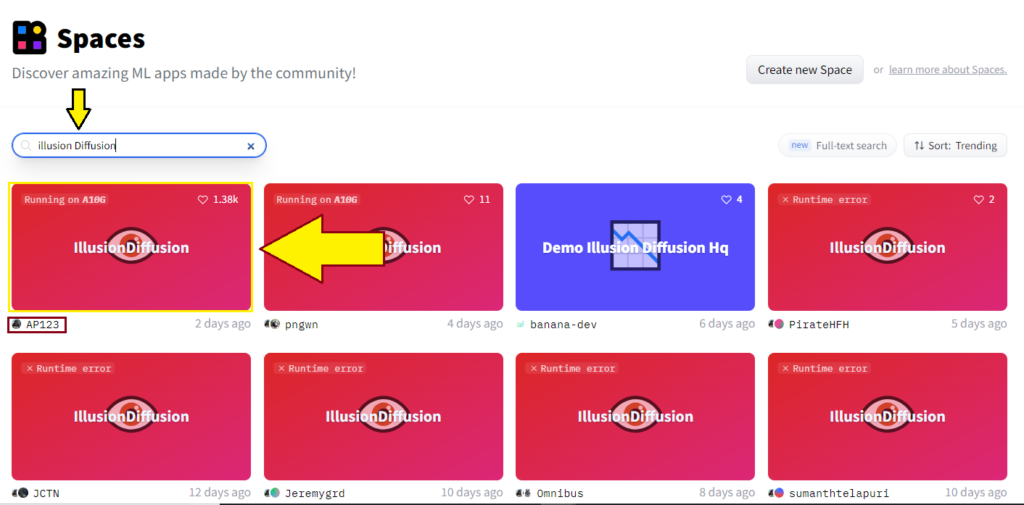
- In the “Space” section, you can search for various spaces. We’re interested in the “Illusion Diffusion” space.
- Search for “Illusion Diffusion” in the search bar to find the available spaces.
Step 3: Choosing the Right Space
Here’s where you need to make a crucial decision. While the popular “AP123” space is often congested due to high traffic, we have an alternative recommendation.
- Instead of the overcrowded “AP123” space, opt for the “PNG WN” space.
- Alternatively, Click on the second space, “PNG WN,” to enter the illusion image generation arena.
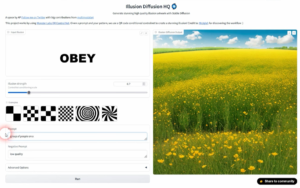
Step 4: Understanding the Interface
The PNG WN space functions similarly to the famous AP123 space. You’ll find several essential elements for creating your illusion image:
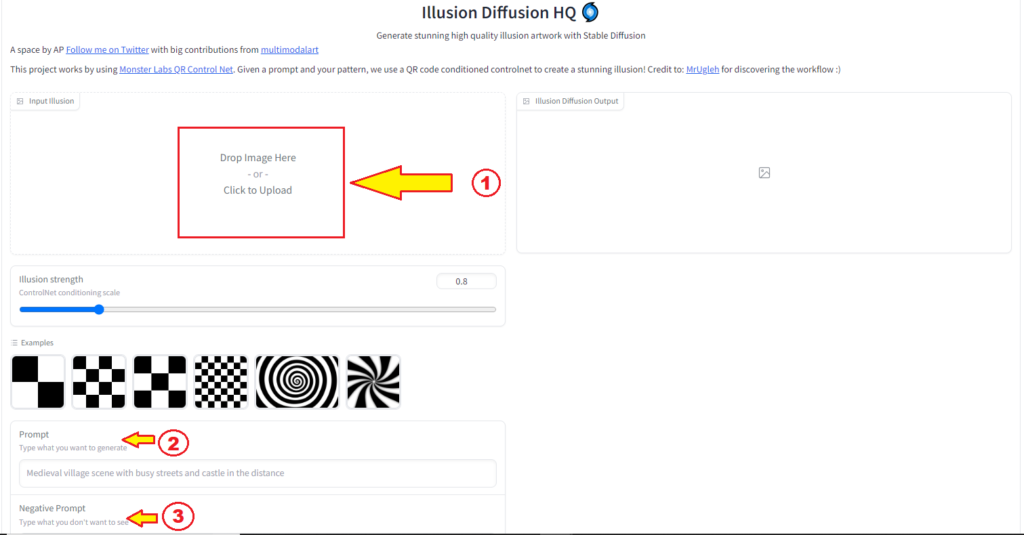
- Image Upload: This is where you upload the image you want to transform.
- Illusion Strength: Here, you control the impact of the illusion on your image. Higher values result in more pronounced effects, while lower values yield subtler changes.
- Prompt: This is where you enter the description or keywords related to the image you want to create.
- Negative Prompt: In this section, you specify what you don’t want in your output image.
- Advanced Settings: While these options exist, we recommend focusing on the illusion strength for simplicity.
Step 5: Creating an Illusion Image
Now, let’s walk through the process of creating your illusion image step by step.
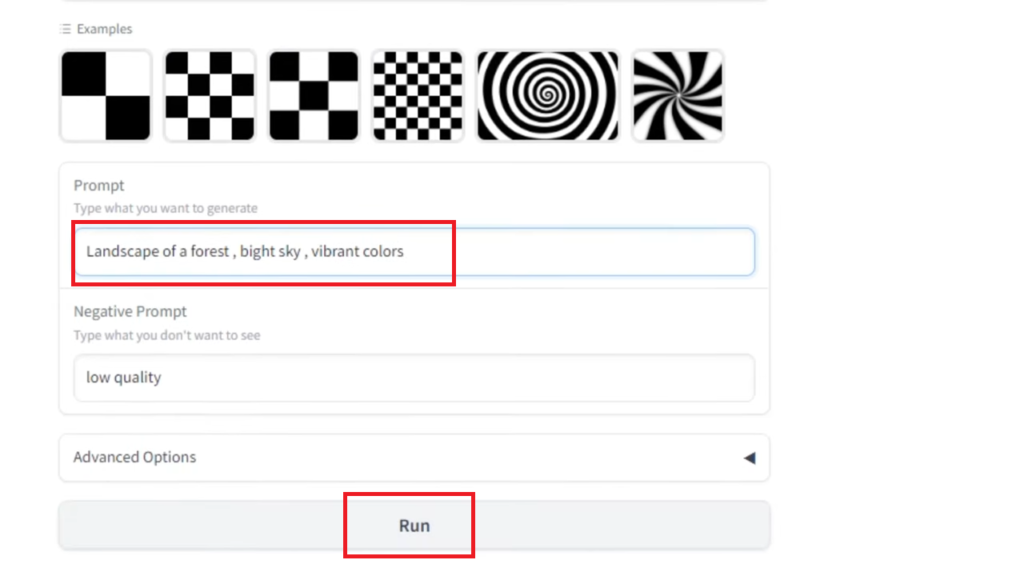
Example 1: Landscape Transformation
- Upload an image of your choice.
- Set the illusion strength to around 1%.
- In the prompt section, enter a description like “landscape of a forest, bright sky, vibrant colors.”
- Click the “Run” button to generate your illusion image.
Example 2: Text Transformation
- Use a text prompt instead of an image.
- Specify the illusion strength (e.g., 1.3).
- Enter your desired text in the prompt section.
- Click “Run” to generate the transformed text.
Step 6: Reviewing the Results
After clicking “Run,” the AI will instantly start generating your image or text. You won’t need to wait in long queues like some other spaces. The results will be visible within moments.
Image Transformation Results
Your transformed image will display the desired elements from your prompt. Ensure you keep the illusion strength around 1 or 1.5 for the best results, as higher values might not yield as appealing outcomes.
Text Transformation Results
If you’re transforming text, you’ll see the generated text based on your prompt. The results can be quite impressive and creative.
Step 7: Exploring More
Feel free to experiment with various prompts and images to unlock the full potential of illusion image generation.
- Transform ordinary images into beautiful landscapes.
- Generate captivating text with a touch of magic.
- Try different prompts to see what creative output you can achieve.
Advanced Options:
Guidance Scale (0 to 50): This setting allows you to adjust the guidance scale, which influences how the AI interprets and generates your content. A higher value can result in more pronounced guidance effects.
Dropdown (Euler or DPM++ Karras SDE): This dropdown menu offers various options for controlling the AI’s behavior. In this case, “Euler” might refer to a specific control mode or algorithm.
Start of ControlNet (0 and 1): ControlNet is a system that helps steer the AI’s output. This parameter determines where the ControlNet’s influence begins in the generation process.
End of ControlNet (0 and 1): This parameter specifies where the ControlNet’s influence ends in the generation process. It marks the boundary beyond which the AI generates content without control.
Strength of the Upscaler (0 and 1): The Upscaler enhances the resolution and quality of the generated content. The strength parameter controls the intensity of upscaling.
Seed (-1 means random seed): The seed value plays a crucial role in generating consistent or random outputs. A value of -1 indicates that a random seed is used, resulting in variations in each generation. The “Last seed used” helps track the seed value used in the most recent generation.
These advanced options give experienced users the ability to fine-tune their Illusion Diffusion AI creations according to their specific preferences and requirements.
While they offer greater control, they may require a deeper understanding of AI algorithms and their effects on the generated content.
Generating Illusion Art Photos – Step-by-Step Tutorial
So, a lot of you have been curious about creating those mind-boggling illusion images that seem to play tricks on the eyes. Well, today, I’m going to walk you through the process step by step.
1. Visit Illusion Diffusion AI
Go to your browser and type in the keyword “hugging face.” Once you’ve done that, click on the top link that appears in the search results. Scroll down a bit on the website until you spot some options available.

2. Select the Illusion Diffusion Tab
Within these options, look for and click on the “illusion diffusion” tab. This is where the magic begins!
3. Uploading Your Image
Now, it’s time to upload the image you want to transform. For instance, I’m using the logo of Robbie for this demonstration. Click on “click to upload” and select the image you’d like to work on.
4. Adjusting Illusion Strength
You’ll notice an option called “illusion strength.” This is where you control the intensity of the illusion effect. If you increase the amount, it’ll give a stronger illusion effect. I’m keeping it at 1.1 for this example.
5. Choosing the Style and Prompt
Next up, you’ll see various styles available. Choose the default option. Here’s where you can also input a prompt based on your imagination. Think of this as a description of what you want the illusion to look like.
6. Advanced Settings
Click on the “Advance” option. For now, let’s focus on adjusting the “guidance scale” while leaving the other settings as they are.
7. Running the Process
Once you’ve set everything according to your preference, hit that “run” button. Now, it’ll start generating the design. Sometimes, it might show as busy initially, but just click it again, and it’ll start the countdown.
8. Patience Is Key
Wait patiently until the process is completed. It might take a few moments, but trust me, the result will be worth it!
9. Admire Your Creation
Once the process is finished, you’ll see your transformed design. Voilà! You can use the same method to create illusion images of different faces or objects.
10. Download Your Artwork
Lastly, after you’re satisfied with the outcome, you can download the image and save it to your device. And that’s it! You’ve successfully created your own stunning illusion artwork.
FAQs:
1. What is Illusion Diffusion AI Image Generator?
Illusion Diffusion AI is an AI Image generator that transforms ordinary images and text into captivating optical illusions and visual effects.
2. How do I use Illusion Diffusion AI?
You can use Illusion Diffusion AI by giving input illusion and an image prompt. Simply provide an image or text prompt, adjust settings, and let the AI generate your desired content.
3. How to setup “illusion Strength” parameter?
The “illusion strength” parameter allows you to control the intensity of the illusion or transformation applied to your content.
4. What are the advanced options available in IllusionDiffusion AI?
Yes, Illusion Diffusion AI offers advanced options such as guidance scale, control settings, upscaling strength, and seed values. These settings enable users to fine-tune the AI’s behavior and output.
5. Is IllusionDiffusion AI Free?
Yes, Illusion Diffusion AI models are available for free.
Blog:
- AI Background Remover for Designers By Icons8 Review
- ChangeFace AI: Swap your face with iconic images
- How to Create Hidden Messages in Images Using Illusion Diffusion?
- Chat-gpt.photos Image Generator (All You Need to Know)
- Cleanup.pictures AI: Remove Object, People, Text from Image
- Chromatic Lens AI: Everything Explained
