Recently, I stumbled upon this amazing technique where text messages were ingeniously hidden within images.
You can easily recreate this effect using simple tools and AI.
Step 1: Editing the Image
So, the first step is to use a photo editing software. There’s a fantastic free software that I’ll be using for this demonstration. Open the software and use the type tool to add your text onto a white background.
Let’s say we want to insert the word “obey.” Adjust the font, size, and position of the text to your preference.
Remember, keeping the background white is crucial, so avoid making it a PNG with a transparent background.
- Open the photo editing software.
- Use the type tool to add text on a white background.
- Adjust font, size, and position as desired.
- Ensure the background remains white.

Using Illusion Diffusion HQ:
Once you’ve created your text image, it’s time to use Illusion Diffusion, a free tool designed for this purpose.
Here’s how you can seamlessly merge your text into the image.
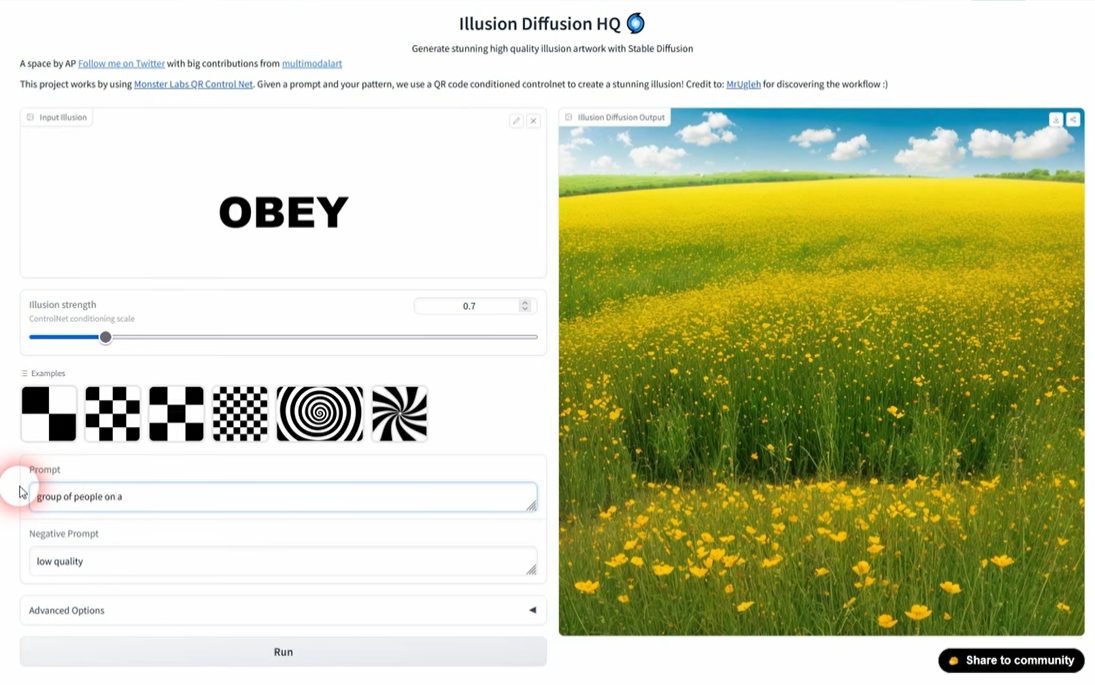
Access Illusion Diffusion: Go to Illusion Diffusion HQ, which I’ll link for your convenience.
Upload Your Image: Simply drag and drop your prepared text image into the designated area within Illusion Diffusion.
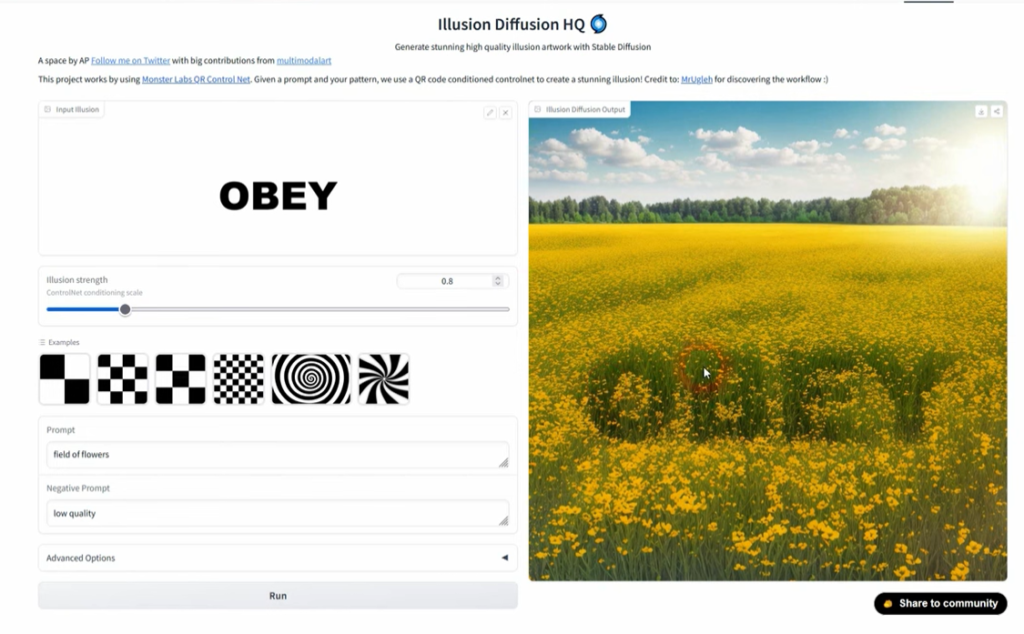
Adjust the Illusion Strength: You’ll notice options to adjust the illusion strength and the type of image. Experiment with these settings to achieve the desired effect.
Results
After processing, you’ll witness the magic unfold! Your text will be subtly embedded within the image, depending on the illusion strength you’ve chosen.

It’s incredible how seamlessly the text merges into the picture, adding a hidden layer of creativity.
- Experiment with illusion strength for varying intensity.
- The effectiveness depends on the image and chosen prompt.
- Explore different strengths for optimal results.
Understanding the Outcome
The resulting image will showcase your text cleverly integrated into the picture. However, the success of this technique depends on the right balance.
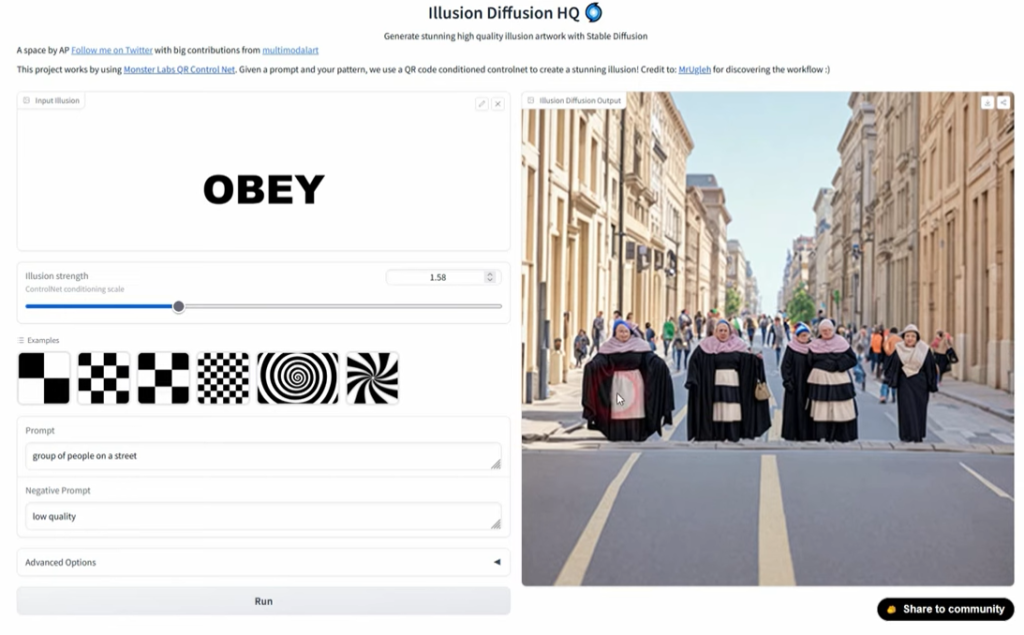
Sometimes, the text might be too prominent or barely visible, so it’s crucial to fine-tune the settings.
- Carefully observe the integrated text in the image.
- Adjust settings to strike the perfect balance.
- Ensure the text isn’t too intense or barely visible.
Additional Tips
For optimal results and a more polished outcome, consider these additional tips:
- Create in Black and White: Convert your text message to black and white for a more subtle integration.
- Square Background: Begin with a square background (e.g., 1000×1000) to prevent text from getting cut off on the sides if your image is in a 16×9 format.
- Play with Different Prompts: Experiment with various image prompts to find the right illusion strength for each scenario.
How to create Optical Illusions?
Conclusion
With these simple steps and the help of AI through Illusion Diffusion, you can effortlessly embed hidden text messages within your images. It’s an incredible way to add an extra layer of creativity and surprise to your photos.
I hope this tutorial was helpful, and I’m excited to see the fantastic hidden messages you create using this technique.