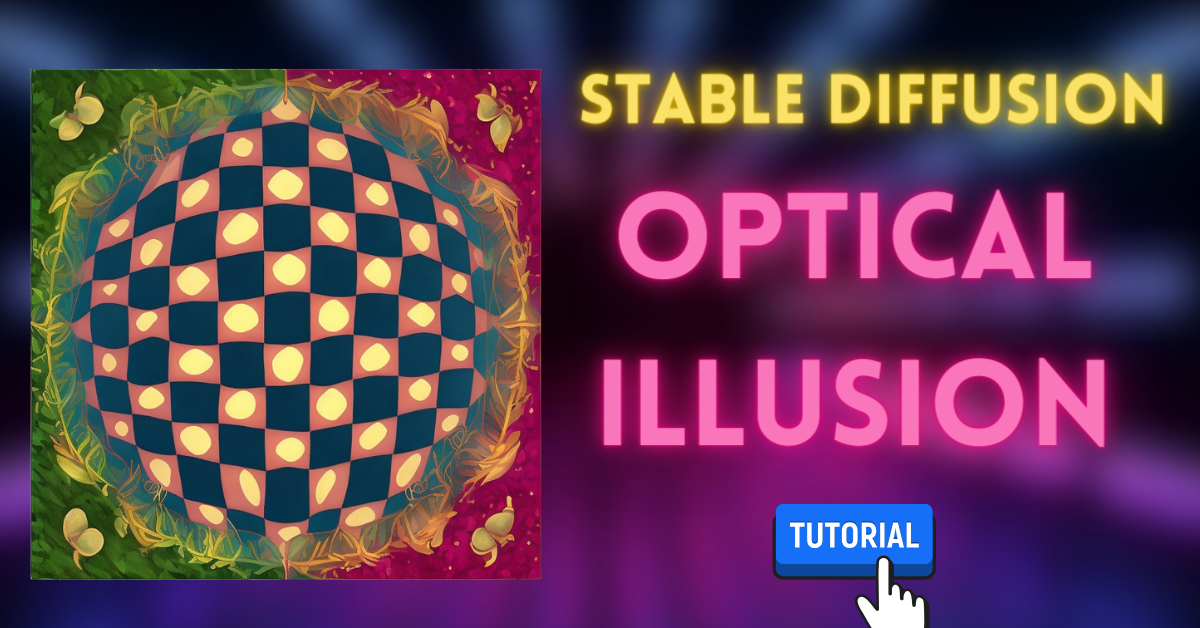
In this tutorial, we’re going to take a deep dive into the world of creative image manipulation using the Stable Fusion tool.
We’ll show you how to turn a simple logo into a stunning piece of art, and the best part is, it doesn’t have to stop at logos – you can use this technique to transform any image into a work of art.
So, let’s get started and uncover the magic behind this optical illusion.
Prerequisites
Before we dive into the artistic process, let’s ensure you have the necessary tools and resources.
Here’s a quick rundown of what you need:
- Stable Fusion Software: You’ll need the Stable Fusion software, particularly version 1.1.1. If you haven’t installed it yet, check out our previous video on how to install it.
- Control Net QR Code Monster Model: Download both the tensor file and the YAML file.
Now, let’s take the next steps to create stunning optical illusions.
Installing the Control Net Model
- Once you have the required files, navigate to your Stable Fusion folder.
- Inside the folder, locate the ‘extensions’ directory and open it.
- Access the ‘control net models’ folder within the extensions directory.
- Now, simply drag and drop the downloaded tensor and YAML files into this folder.
With the model successfully installed, you’re ready to unleash your creativity.
Preparing Your Images
The key to creating optical illusions lies in the images you use. For the best results, make sure your images are black and white.
Although it’s possible to work with colored images, using black and white versions can yield more captivating outcomes.
Loading Your Image
Let’s start by loading your chosen image into Stable Fusion:
- Open Stable Fusion and go to the ‘Files and Versions’ section.
- Select the image you want to transform and load it into Stable Fusion.
- Before you proceed, adjust the preprocessor settings based on your preferences. You can choose to invert the image or keep it as it is, depending on the effect you want to achieve.
Selecting Control Net and Model
Now, it’s time to set up your rendering options:
- Change the sampling method to ‘2m Keras’ or any other sampler of your choice. We’ll stick with ‘2m Keras’ for this tutorial.
- Use 25 steps for rendering.
- Select a model – in this case, the 1.5 model.
- Set the resolution to 512 by 512.
- Optionally, enable ‘Hi-Res Fix’ to refine the details in your image.
Running the First Render
Before we dive into the creative process, let’s run our first render:
- Load your image and render it. You’ll see the initial results.
- If you notice that the edges or details in your image are not as defined as you’d like, consider enabling ‘Hi-Res Fix.’
Fine-Tuning the Control Weight
The ‘Control Weight’ plays a crucial role in defining the amount of input you want to retain in your transformed image. If your image’s key elements are fading away, it’s time to adjust the control weight:
- Increase the control weight value for more pronounced input elements.
- Rerun the render to see the impact of the control weight adjustment.
Experimenting with Different Images
You’re not limited to logos; you can transform any image you desire. Let’s explore a couple of examples:
Mr. Beast Logo into a Sci-Fi Building
- Load the black and white Mr. Beast logo into Stable Fusion.
- Choose a futuristic style like ‘Sci-Fi Building in a Cyberpunk Neon Futuristic World.’
- Run the render to see the transformation.
- You can experiment with different styles and settings to achieve the desired effect.
Skull Illustration into a Cyberpunk Scene
- Import an illustration of a skull.
- Opt for a style such as ‘Street Alley with Neon Signs.’
- You can choose to invert the image to explore different outcomes.
- Adjust the control weight to control the intensity of the original image in the final result.
- Run the render to unveil your new creation.
The Magic of Inversion
Inversion is a powerful tool that can completely change the look and feel of your optical illusions.
Experiment with inverted and non-inverted images to discover unique results.
Conclusion
You’ve learned how to take ordinary images, including logos, and transform them into captivating works of art using Stable Fusion.
Don’t limit your creativity to logos; let your imagination run wild and create stunning optical illusions with any image you desire.
The power of Stable Fusion and the Control Net model is at your fingertips, so go ahead and start creating your very own optical masterpieces.
